

Feature Flags 101: A Guide for ASP.NET Core Developers
Feature Flags are a technique that allows you to control the visibility and functionality of features in your software without changing the code. They enable you to experiment with new features, perform gradual rollouts, and revert changes quickly if needed.
Table of Contents
Just a second! 🫷
If you are here, it means that you are a software developer. So, you know that storage, networking, and domain management have a cost .
If you want to support this blog, please ensure that you have disabled the adblocker for this site. I configured Google AdSense to show as few ADS as possible - I don't want to bother you with lots of ads, but I still need to add some to pay for the resources for my site.
Thank you for your understanding.
- Davide
To turn functionalities on or off on an application, you can use simple if(condition) statements. That would work, of course. But it would not be flexible, and you’ll have to scatter those checks all around the application.
There is another way, though: Feature Flags. Feature Flags allow you to effortlessly enable and disable functionalities, such as Middlewares, HTML components, and API controllers. Using ASP.NET Core, you have Feature Flags almost ready to be used: it’s just a matter of installing one NuGet package and using the correct syntax.
In this article, we are going to create and consume Feature Flags in an ASP.NET Core application. We will start from the very basics and then see how to use complex, built-in filters. We will consume Feature Flags in a generic C# code, and then we will see how to include them in a Razor application and in ASP.NET Core APIs.
How to add the Feature Flags functionality on ASP.NET Core applications
The very first step to do is to install the Microsoft.FeatureManagement.AspNetCore NuGet package:
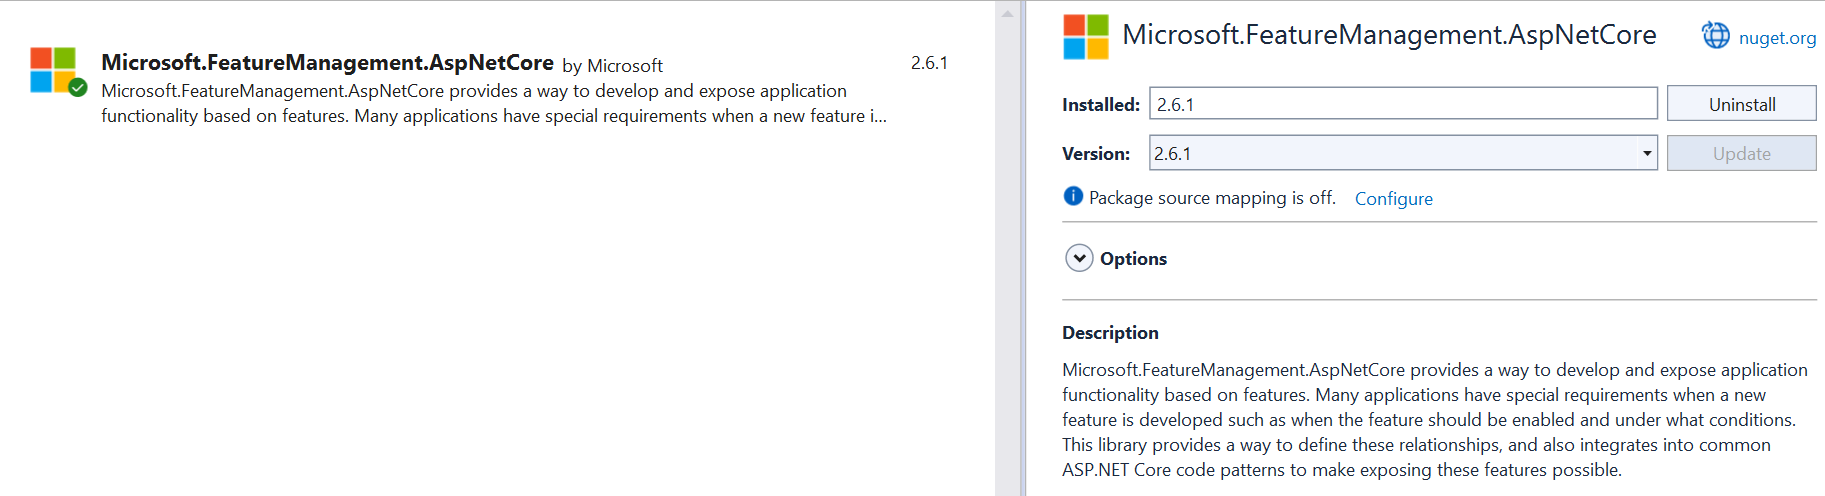
This package contains everything you need to integrate Feature Flags in an ASP.NET application, from reading configurations from the appsettings.json file to the utility methods we will see later in this article.
Now that we have the package installed, we can integrate it into our application. The first step is to call AddFeatureManagement on the IServiceCollection object available in the Main method:
var builder = WebApplication.CreateBuilder(args);

builder.Services.AddFeatureManagement();
By default, this method looks for Feature Flags in a configuration section named FeatureManagement.
If you want to use another name, you can specify it by accessing the Configuration object. For example, if your section name is MyWonderfulFlags, you must use this line instead of the previous one:
builder.Services.AddFeatureManagement(builder.Configuration.GetSection("MyWonderfulFlags"));
But, for now, let’s stick with the default section name: FeatureManagement.
Define Feature Flag values in the appsettings file
As we saw, we have to create a section named FeatureManagement in the appsettings file. This section will contain a collection of keys, each representing a Feature Flag and an associated value.
For now, let’s say that the value is a simple boolean (we will see an advanced case later!).
For example, we can define our section like this:
{
  "FeatureManagement": {
    "Header": true,
    "Footer": true,
    "PrivacyPage": false
  }
}
Using Feature Flags in generic C# code
The simplest way to use Feature Flags is by accessing the value directly in the C# code.
By calling AddFeatureManagement, we have also injected the IFeatureManager interface, which comes in handy to check whether a flag is enabled.
You can then inject it in a class constructor and reference it:
private readonly IFeatureManager _featureManager;

public MyClass(IFeatureManager featureManager)
{
    _featureManager = featureManager;
}

public async Task DoSomething()
{
    bool privacyEnabled = await _featureManager.IsEnabledAsync("PrivacyPage");
    if(privacyEnabled)
    {
        // do something specific
    }
}
This is the simplest way. Looks like it’s nothing more than a simple if statement. Is it?
Applying a Feature Flag to a Controller or a Razor Model using the FeatureGate attribute
When rolling out new versions of your application, you might want to enable or disable an API Controller or a whole Razor Page, depending on the value of a Feature Flag.
There is a simple way to achieve this result: using the FeatureGate attribute.
Suppose you want to hide the “Privacy” Razor page depending on its related flag, PrivacyPage. You then have to apply the FeatureGate attribute to the whole Model class (in our case, PrivacyModel), specifying that the flag to watch out for is PrivacyPage:
[FeatureGate("PrivacyPage")]
public class PrivacyModel : PageModel
{

    public PrivacyModel()
    {
    }

    public void OnGet()
    {
    }
}
Depending on the value of the flag, we will have two results:
- if the flag is enabled, we will see the whole page normally;
- if the flag is disabled, we will receive a 404 - Not Found response.
Let’s have a look at the attribute definition:
//
// Summary:
//     An attribute that can be placed on MVC controllers, controller actions, or Razor
//     pages to require all or any of a set of features to be enabled.
[AttributeUsage(AttributeTargets.Class | AttributeTargets.Method, AllowMultiple = true)]
public class FeatureGateAttribute : ActionFilterAttribute, IAsyncPageFilter, IFilterMetadata
As you can see, you can apply the attribute to any class or method that is related to API controllers or Razor pages. This allows you to support several scenarios:
- add a flag on a whole API Controller by applying the attribute to the related class;
- add a flag on a specific Controller Action, allowing you, for example, to expose the GET Action but apply the attribute to the POST Action.
- add a flag to a whole Razor Model, hiding or showing the related page depending on the flag value.
You can apply the attribute to a custom class or method unrelated to the MVC pipeline, but it will be ineffective.
If you try with
public void OnGet()
{
    var hello = Hello();
    ViewData["message"] = hello;
}

[FeatureGate("PrivacyPage")]
private string Hello()
{
    return "Ciao!";
}
the Hello method will be called as usual. The same happens for the OnGet method: yes, it represents the way to access the Razor Page, but you cannot hide it; the only way is to apply the flag to the whole Model.
You can use multiple Feature Flags on the same FeatureGate attribute. If you need to hide or show a component based on various Feature Flags, you can simply add the required keys in the attribute parameters list:
[HttpGet]
[FeatureGate("PrivacyPage", "Footer")]
public IActionResult Get()
{
    return Ok("Hey there!");
}
Now, the GET endpoint will be available only if both PrivacyPage and Footer are enabled.
Finally, you can define that the component is available if at least one of the flags is enabled by setting the requirementType parameter to RequirementType.Any:
[HttpGet]
[FeatureGate(requirementType:RequirementType.Any,  "PrivacyPage", "Footer")]
public IActionResult Get()
{
    return Ok("Hey there!");
}
How to use Feature Flags in Razor Pages
The Microsoft.FeatureManagement.AspNetCore NuGet package brings a lot of functionalities. Once installed, you can use Feature Flags in your Razor pages.
To use such functionalities, though, you have to add the related tag helper: open the _ViewImports.cshtml file and add the following line:
@addTagHelper *, Microsoft.FeatureManagement.AspNetCore
Now, you can use the feature tag.
Say you want to show an HTML tag when the Header flag is on. You can use the feature tag this way:
<feature name="Header">
    <p>The header flag is on.</p>
</feature>
You can also show some content when the flag is off, by setting the negate attribute to true. This comes in handy when you want to display alternative content when the flag is off:
<feature name="ShowPicture">
    <img src="image.png" />
</feature>
<feature name="ShowPicture" negate="true">
    <p>There should have been an image, here!</p>
</feature>
Clearly, if ShowPicture is on, it shows the image; otherwise, it displays a text message.
Similar to the FeatureGate attribute, you can apply multiple flags and choose whether all of them or at least one must be on to show the content by setting the requirement attribute to Any (remember: the default value is All):
<feature name="Header, Footer" requirement="All">
    <p>Both header and footer are enabled.</p>
</feature>

<feature name="Header, Footer" requirement="Any">
    <p>Either header or footer is enabled.</p>
</feature>
Conditional Feature Filters: a way to activate flags based on specific advanced conditions
Sometimes, you want to activate features using complex conditions. For example:
- activate a feature only for a percentage of requests;
- activate a feature only during a specific timespan;
Let’s see how to use the percentage filter.
The first step is to add the related Feature Filter to the FeatureManagement functionality. In our case, we will add the Microsoft.FeatureManagement.FeatureFilters.PercentageFilter.
builder.Services.AddFeatureManagement()
    .AddFeatureFilter<PercentageFilter>();
Now we just have to define the related flag in the appsettings file. We cannot use anymore a boolean value, but we need a complex object. Let’s configure the ShowPicture flag to use the Percentage filter.
{
  "ShowPicture": {
    "EnabledFor": [
      {
        "Name": "Percentage",
        "Parameters": {
          "Value": 60
        }
      }
    ]
  }
}
Have a look at the structure. Now we have:
- a field named
EnabledFor; EnabledForis an array, not a single object;- every object within the array is made of two fields:
Name, which must match the filter name, andParameters, which is a generic object whose value depends on the type of filter.
In this example, we have set "Value": 60. This means that the flag will be active in around 60% of calls. In the remaining 40%, the flag will be off.
Now, I encourage you to toy with this filter: Apply it to a section or a page. Run the application. Refresh the page several times without restarting the application.
You’ll see the component appear and disappear.
Further readings
We learned about setting “simple” configurations in an ASP.NET Core application in a previous article. You should read it to have a better understanding of how we can define configurations.
Here, we focused on the Feature Flags. As we saw, most functionalities come out of the box with ASP.NET Core.
In particular, we learned how to use the <feature> tag on a Razor page. You can read more on the official documentation (even though we already covered almost everything!):
🔗FeatureTagHelper Class | Microsoft Docs
This article first appeared on Code4IT 🐧
Wrapping up
In this article, we learned how to use Feature Flags in an ASP.NET application on Razor pages and API Controllers.
Feature Flags can be tremendously useful when activating or deactivating a feature in some specific cases. For example, you can roll out a functionality in production by activating the related flag. Suppose you find an error in that functionality. In that case, you just have to turn off the flag and investigate locally the cause of the issue.
I hope you enjoyed this article! Let's keep in touch on LinkedIn, Twitter or BlueSky! 🤜🤛
Happy coding!
🐧